Open Remote Desktops on Desktop Client
Launch Remote Desktops session on the desktop client.
- Ensure that Remote Desktops Client is installed on the workstation.
Note: Remote Desktops Client is supported
only on Windows 10 and Windows 11 platforms.
-
Click the Desktops tab located in the upper left-hand of
the page.
Remote Desktops list is displayed. The list displays the remote desktops screen preview and it is slightly blurred.
Figure 1. Remote Desktops List 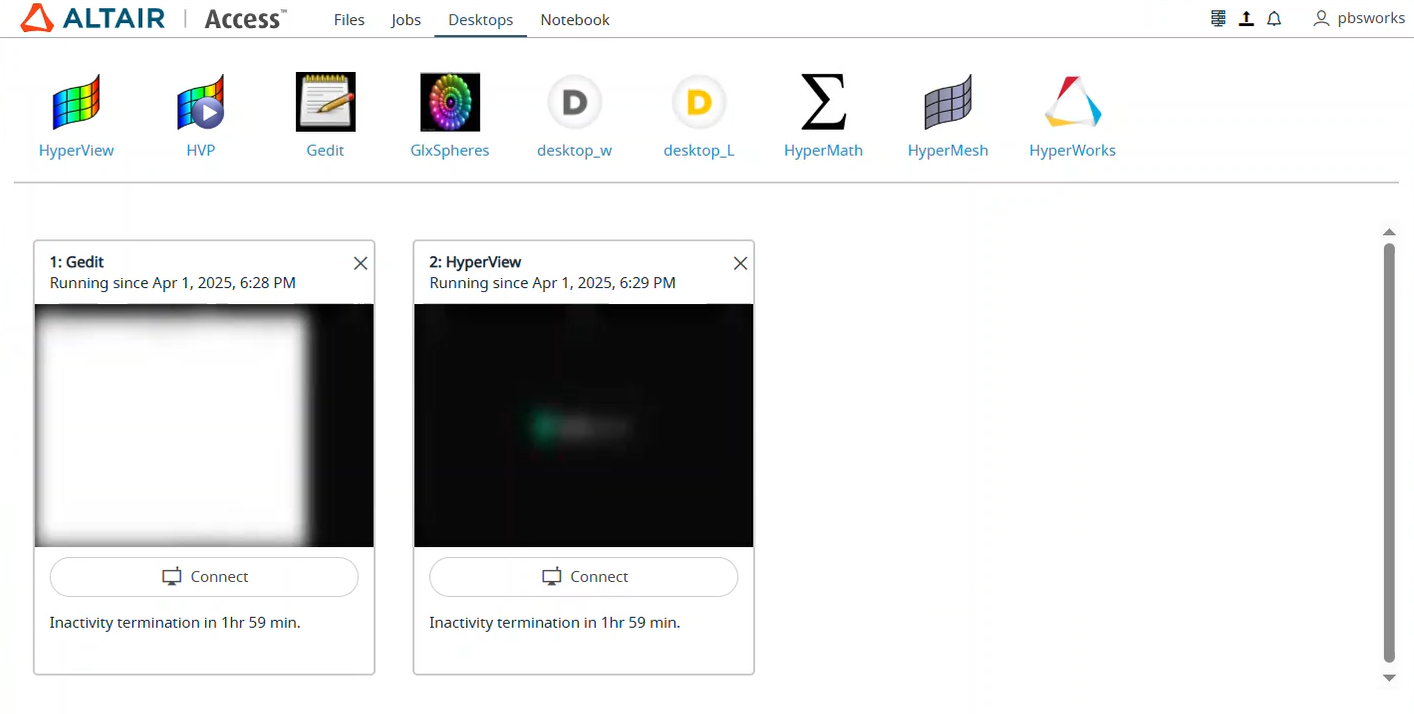
-
Click Connect.
Figure 2. Remote Desktops Connect 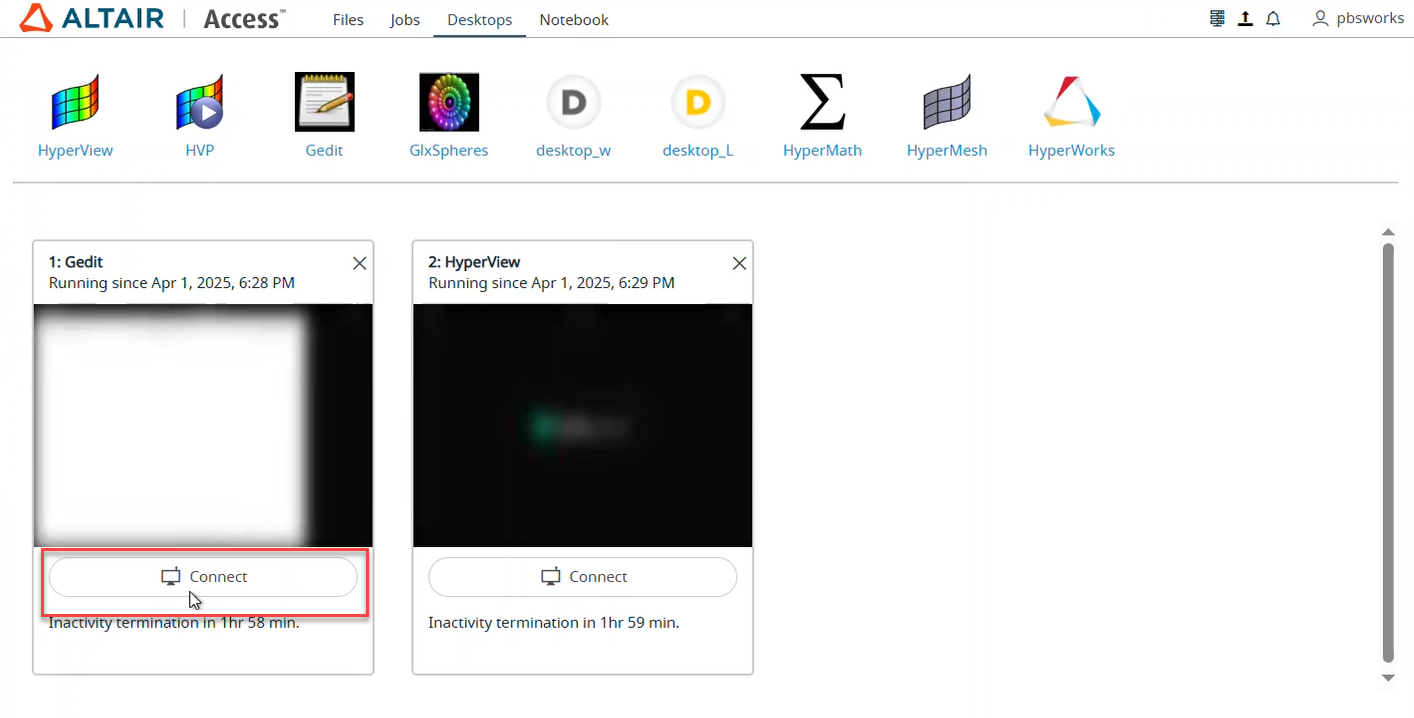
Note: By default, the timeout interval when a remote desktops is opened is set to unlimited. The default configured timeout value is set to 120 minutes (2 hours) for a remote desktops and it is displayed in the remote desktops tile. Time out will start when the remote desktops is closed, and the remaining time is displayed in the remote desktops tile.A remote desktops of the interactive application is opened in a new window.Figure 3. Opened Remote Desktops 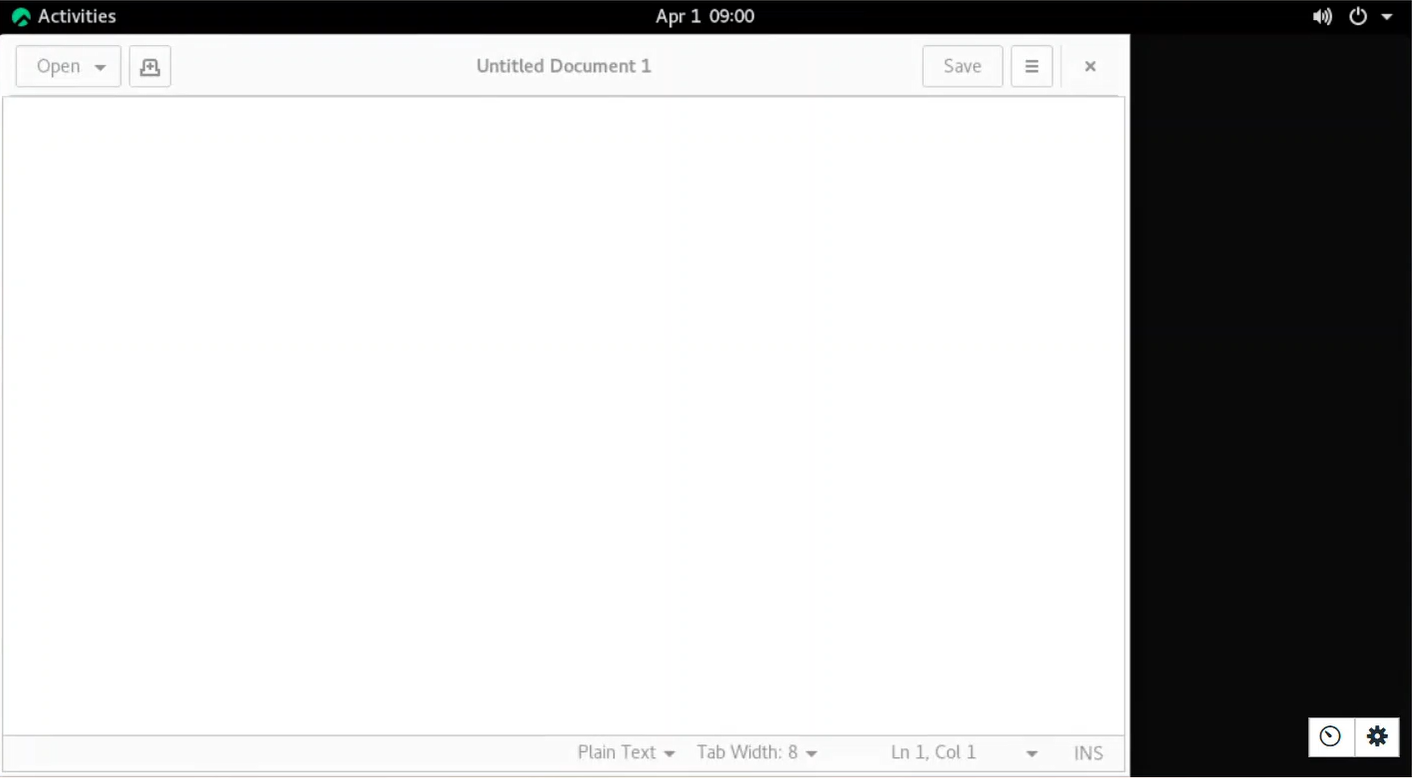
-
Click
 to view the remote desktops statistics
information.
to view the remote desktops statistics
information.
-
Click
 to view the remote desktops options.
Figure 4. Remote Desktops Control 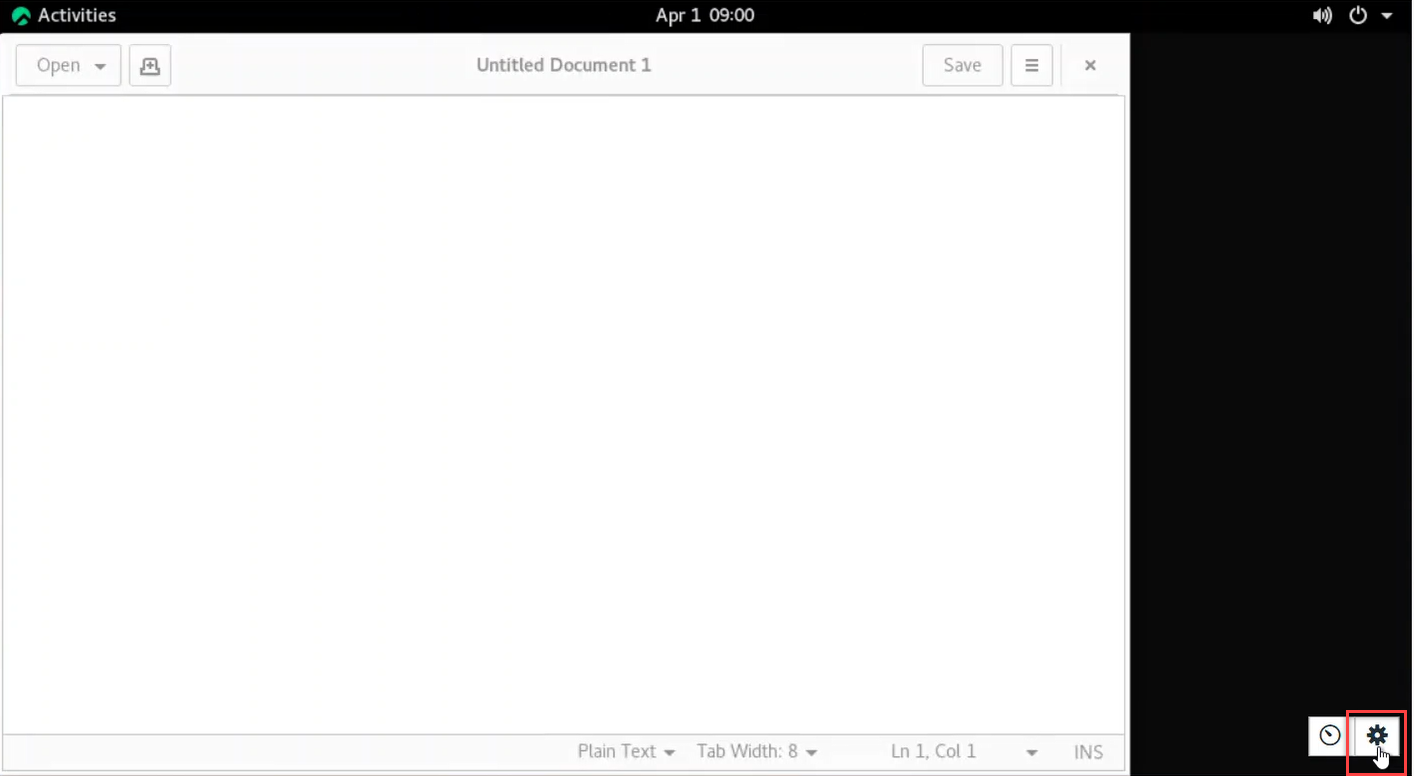
The remote desktops options will be displayed.Figure 5. Remote Desktops Control Options 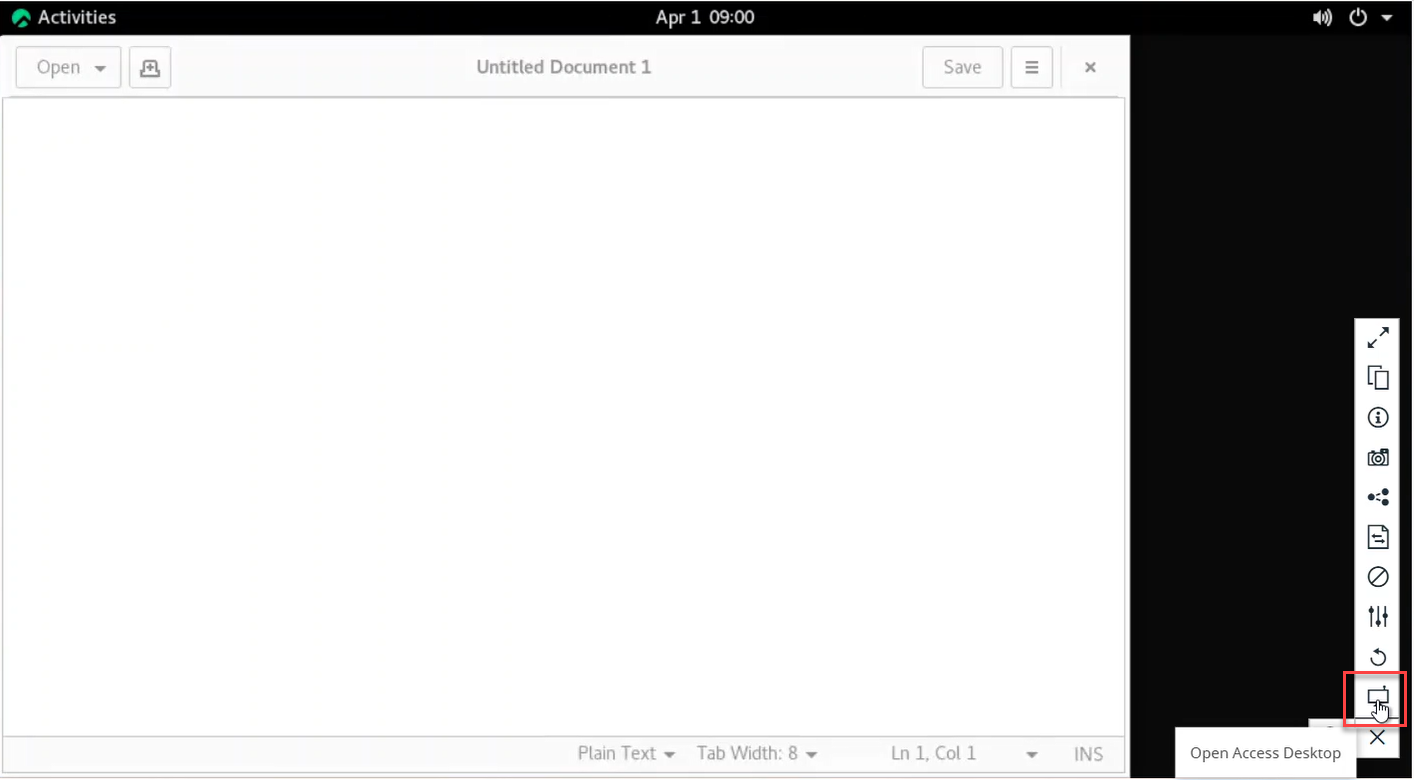
-
Click
 to open access desktop.
Note: This option will be displayed if you have installed Remote Desktops Client on the workstation.
to open access desktop.
Note: This option will be displayed if you have installed Remote Desktops Client on the workstation. -
Click Open accessdesktop to open the Remote Desktops session in desktop client.
Figure 6. Open Access Desktop 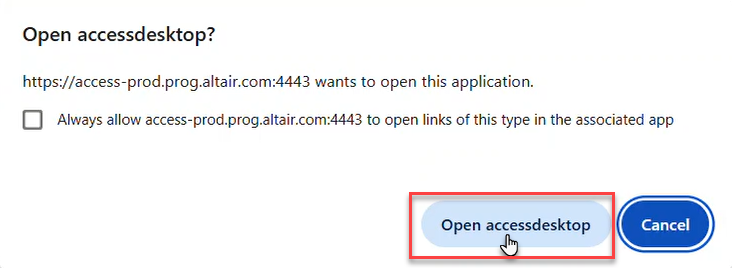
The Remote Desktops session will be opened in the desktop client.Figure 7. Remote Desktop on Desktop Client 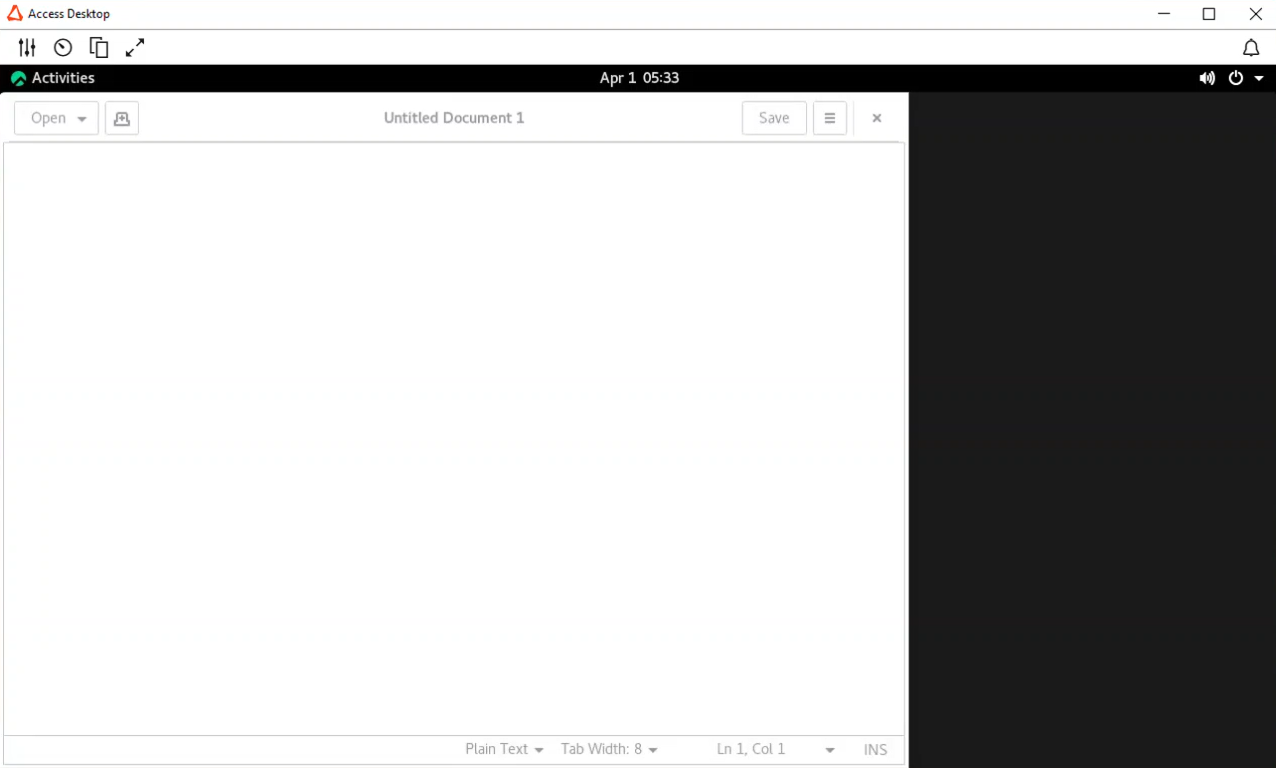
The following options will be displayed: -
change the desktops quality settings.
-
change the desktops quality settings.- -
to view the remote desktops statistics information.
 - copy text to clipboard modal
 - expand the remote desktops in full screen
  - collapse the remote desktops from full screen. This
option is displayed only when the remote desktops is expanded in full
screen.
- collapse the remote desktops from full screen. This
option is displayed only when the remote desktops is expanded in full
screen.