The Purge functionality enables site admins to clean up data and free up physical
disk space. It provides a detailed information about each file’s location, owner, and
size.
The Purge process uses advanced search with default filters, showing the largest
files first. Site Admins can further refine their search for a specific list of
files for targeted cleanup. They can choose to download files locally for backup
before deletion.
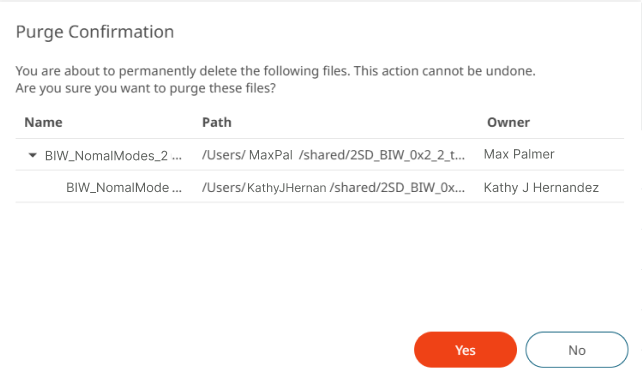
Upon selecting Purge, a confirmation dialog warns, the action will permanently delete
the data and all its duplicates, with no recovery option. If the data is referenced
in multiple locations, the purge removes all references, freeing up significant
space. It deletes the entire file from the storage account for thorough cleanup.
Note: This feature is only available in Altair One
Enterprise.
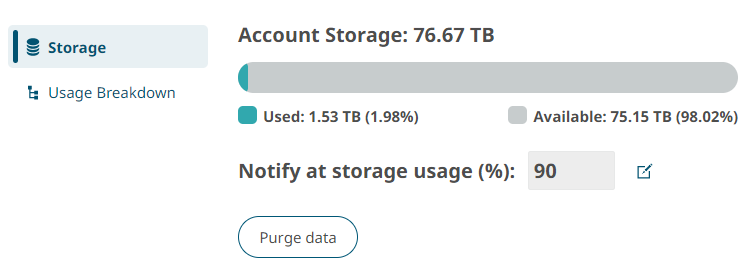
Click Drive > Settingsin the left pane.
The Storage tab displays the total account storage,
used storage space, the set hard limit, and available storage space. Figure 1. Account Storage
Click File purge management, Click here. A list
of files displays in the order, the largest files first, along with last
modified by, content type, size, file path, and shared status.
Click Advanced Search to filter the data. Use the
Advanced Searchoptions that appears on the
left.
The advanced search result displays the filtered data.Figure 2. Advanced Search Purge Data Site Admins can review the file activity and contact users before
purging the data.
Select a file, the menu options such as show location, download, purge and info
are displayed.
Click Show Location to access the file path
location.
Click Purge. The Purge Confirmation pop-up window is displayed.
Along with the confirmation message, it displays duplicate files and their
references to other users.
Figure 3. Purge Confirmation
Click Yes to permanently delete the selected file from
all locations listed in the search results. Once purged, the file cannot be
recovered.
Note: Click Back to storage settings to access
the Storage Limit Visualization details.
 Advanced Search to filter the data. Use the
Advanced Search
options that appears on the
left.
The advanced search result displays the filtered data.
Advanced Search to filter the data. Use the
Advanced Search
options that appears on the
left.
The advanced search result displays the filtered data.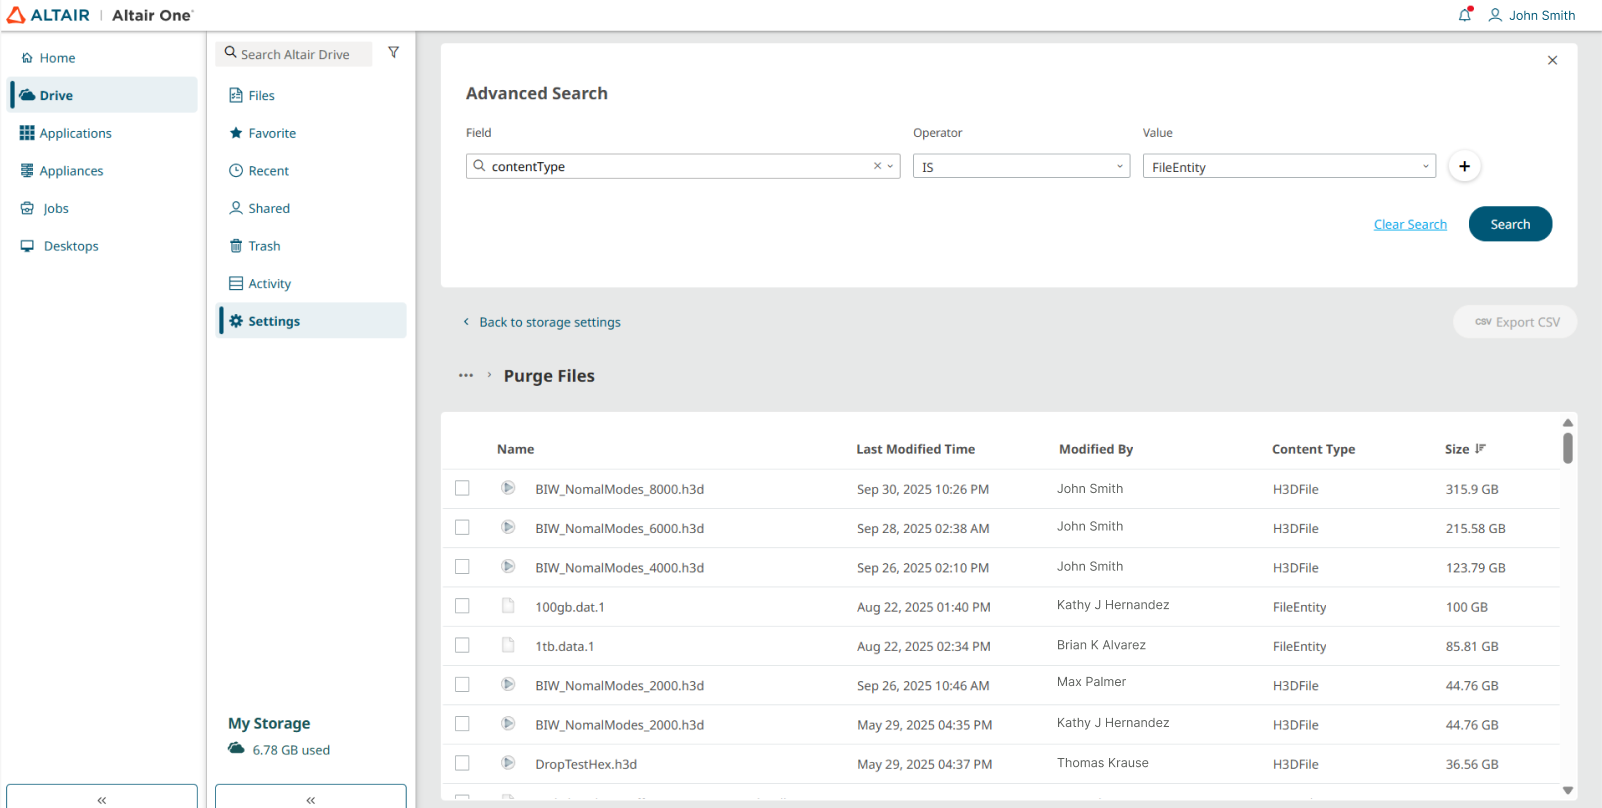
 Info to view file details.