
Create Materials
Customize a material and add it to the My Materials database.
-
Use the Designate Part Cavity or the Auto
Configure Components tool to identify the part cavity.

-
Select the View Materials icon in the microdialog.

-
Click Edit on the Materials dialog.
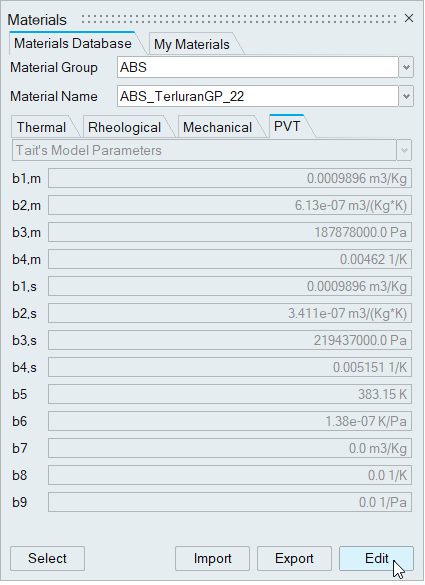 The editing operation opens the My Materials tab.
 - Use the tabs on the dialog to review and modify the material properties.
-
Enter a New Material Name at the bottom of the dialog
and click Save.
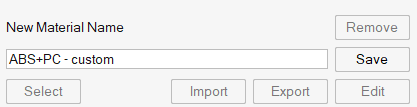 The customized material is saved and accessible from the My Materials tab for future use.
 - Click the Select button to assign the new material to your model.