Prepare a specification file to view the section cuts of a model using Section
Explorer.
Create a few section cuts for a model to study its parts and then generate preview
to view these section cuts using Section Explorer in 3D viewer.
To create a section
cut, launch the model using HyperView and prepare sections using the application.
The application has a plug-in called Altair One Spec Authoring Tool, this enables you to prepare a specification file by
adding the section cuts you created for the model. The specifications file is
exported to Drive as a JSON file. To visualize these section cuts, generate preview
by importing this JSON file.
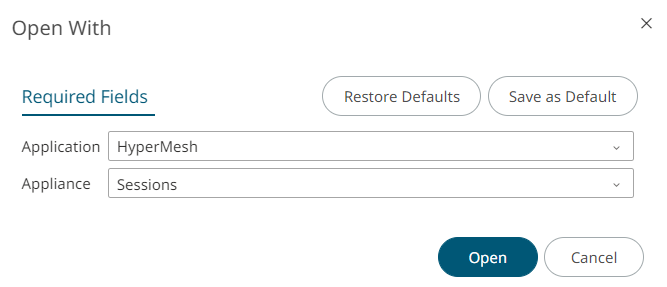
Right-click a model result file (h3d), click Open
With.
The Open With dialog box is displayed.Figure 1. Open With
Select the Application name.
The application launches in a new tab with the selected model.Figure 2. Remote Application displaying the H3D model
Click Section Cut to define and add sections by choosing
the required axis.
In this example, the section cut is added for X-axis.Figure 3. Add a Section Cut
Tip: You can add as many section cuts as
you need for each plane.
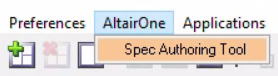
To create a specification file, on the top menu, click AltairOne > Spec Authoring Tool
Figure 4. AltairOne The Spec Authoring Tool dialog box is displayed.
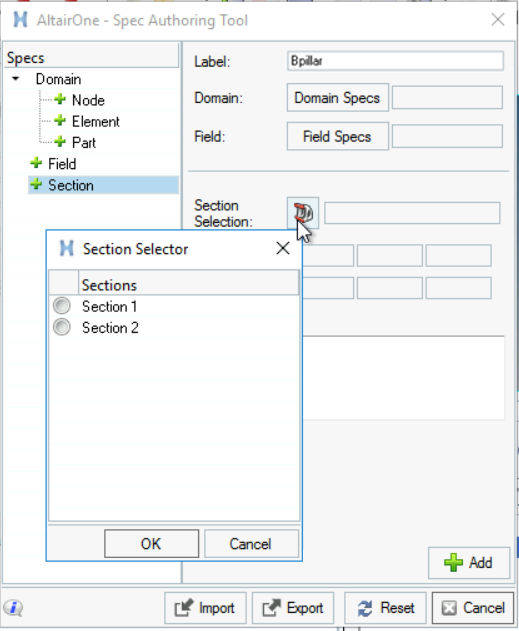
Click Section in the left pane.
Figure 5. Spec Authoring Tool
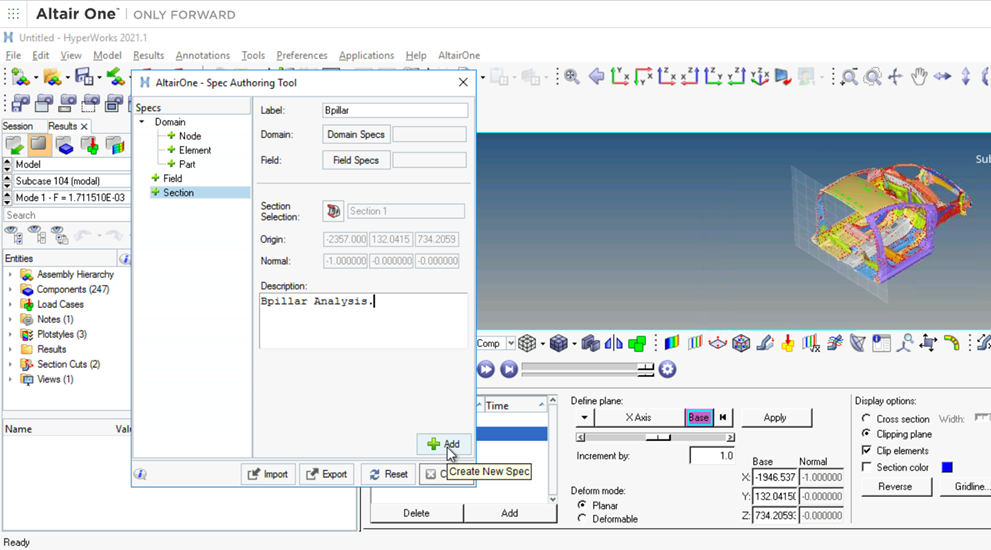
Enter a name for the specification file in the Label field.
Click Section Selection.
The section cuts that you added are displayed.Figure 6. Select a Section
Select the section from the Sections list.
The values are loaded for the selected section.
Click OK to add a section.
Tip: You can add a description about the
specification file you are creating.
Click Add to create a specification file.
Figure 7. Create Specification File
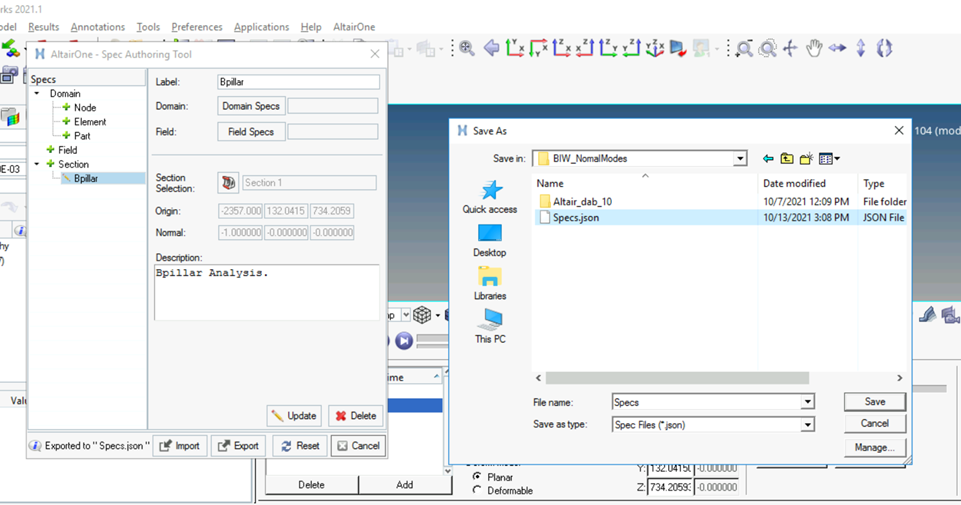
Click Export to save the file in your Altair One Drive Desktop mounted location.
The JSON file is exported.Figure 8. Export Spec File
To preview the section cuts, navigate to the model in Altair Drive.
Right-click the model file and select Generate
Preview.
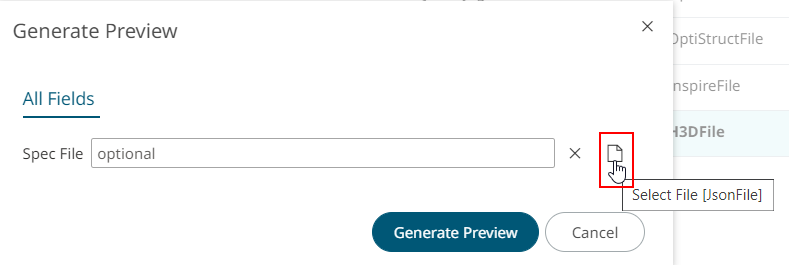
The Generate Preview dialog box is displayed.Figure 9. Generate Preview
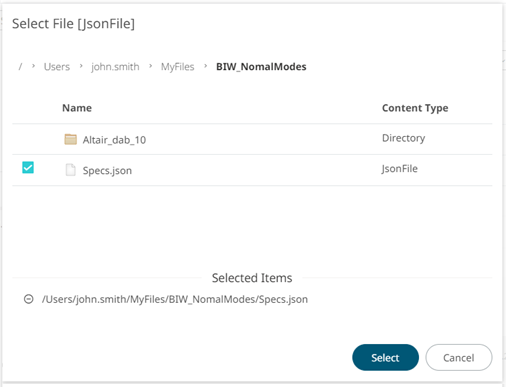
Click to select the matching specification
file (JSON file).
The Select File dialog box displays your
MyFiles location.Figure 10. Select Json File
Select the specification JSON file and then click
Select.
A notification is displayed: Generating preview started for
<model file>.

 to define and add sections by choosing
the required axis.
In this example, the section cut is added for X-axis.
to define and add sections by choosing
the required axis.
In this example, the section cut is added for X-axis.

 to select the matching specification
file (JSON file).
The Select File dialog box displays your MyFiles location.
to select the matching specification
file (JSON file).
The Select File dialog box displays your MyFiles location.