Torus
Create and edit a torus.
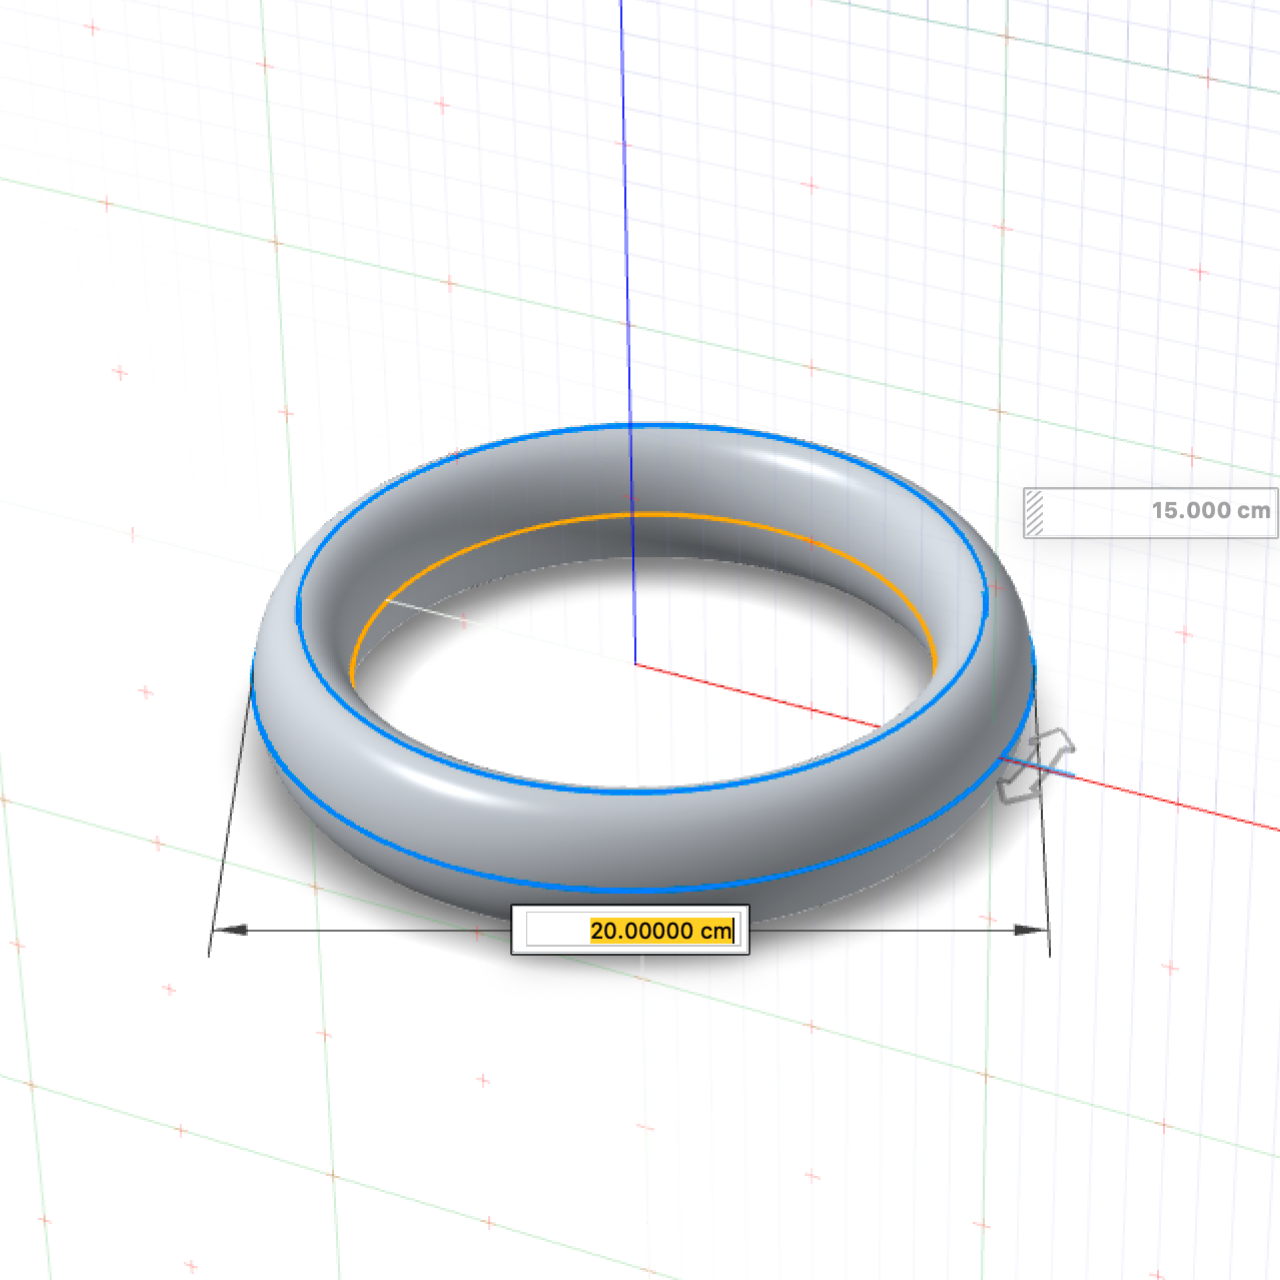
Create a Torus
Create a torus (donut shape).
- On the ribbon, click the Surfaces tab.
-
Click the Torus icon.

- Drag to define the outer diameter.
- Move the cursor to define the inner diameter, and then click.
- Right-click and mouse through the check mark to exit, or double-right-click.
Edit a Torus
Resize the torus or change the sweep angle.
-
Double-click the torus to enter edit mode.
To Do this Change the outer diameter - Drag the outer diameter.
- Click the text box along the outer diameter, and then type a value.
Change the inner diameter - Drag the inner diameter.
- Click the text box along the inner diameter, and then type a value.
Change the height - Drag the height.
- Click the text box along the height, and then type a value.
Change the longitude sweep angle - Drag a longitude arrow.
- Click a longitude arrow, and then type an angle.
Change the latitude sweep angle In the Control Panel, click the text box next to the Latitude Start Angle or Latitude End Angle, and then type a value. - Right-click and mouse through the check mark to exit, or double-right-click.
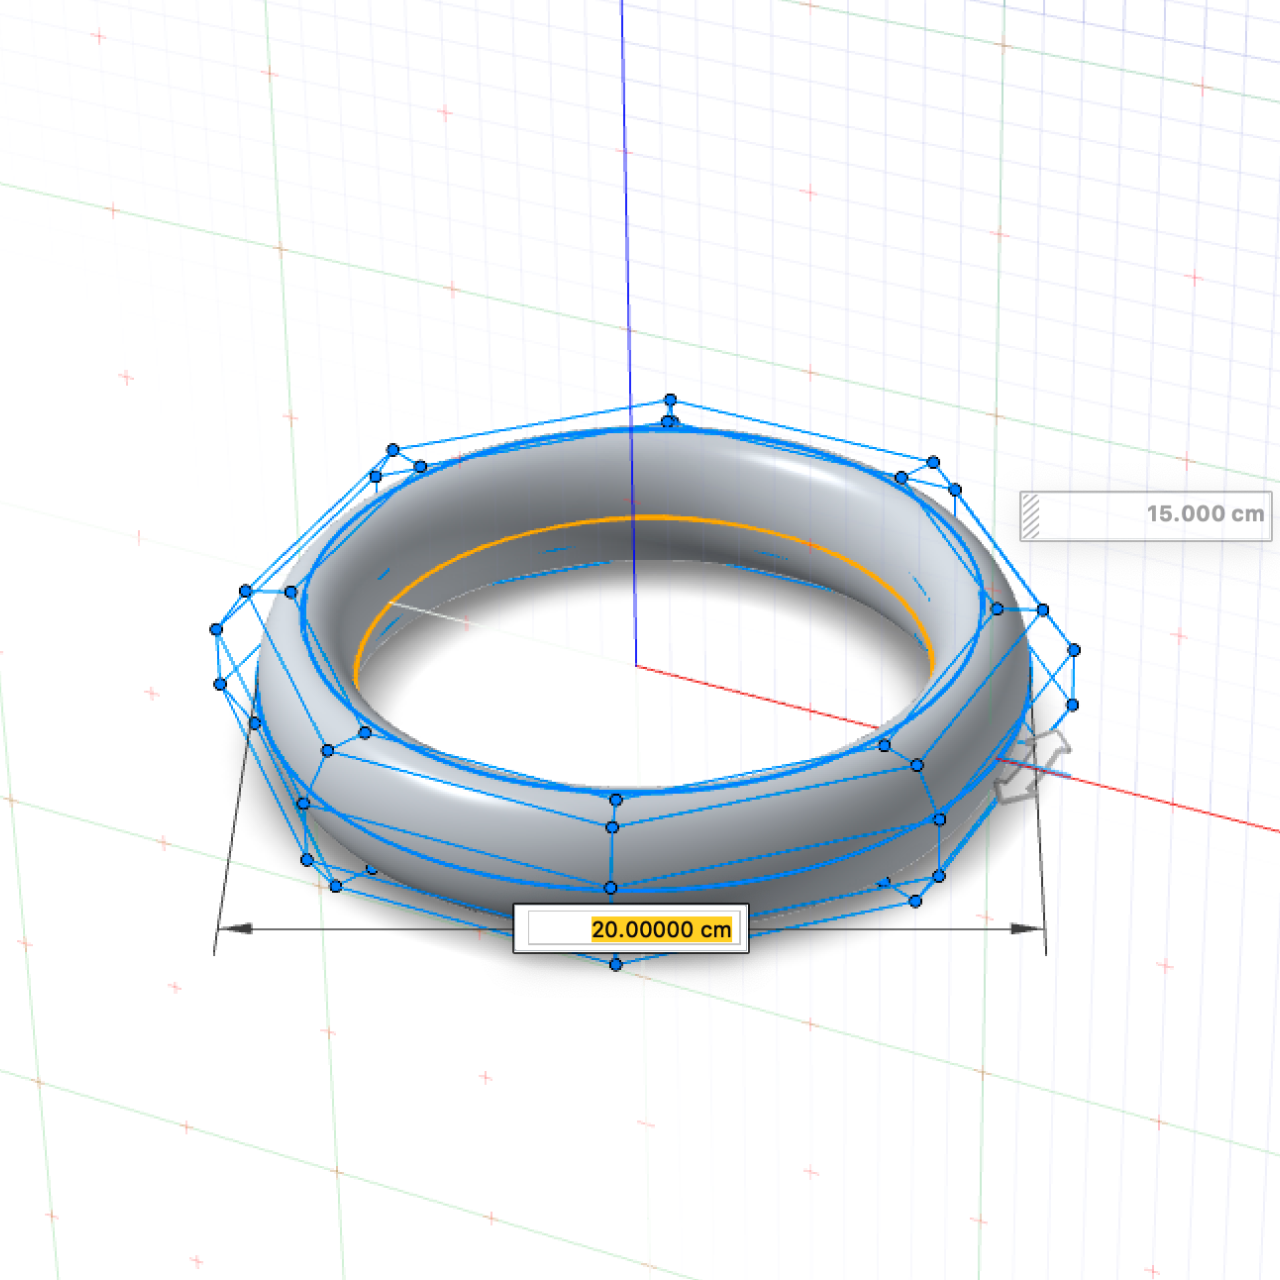
Manipulate the Shape of a Torus
Select a degree option and then reposition or change the number of the control points in order to manipulate the shape of a torus.
If you want to manipulate the shape, select one of the degree options.
-
In the guide bar, select NURBS Degree 2, 3 or 5.
Note: Select a higher degree for a smoother curvature.
-
Modify the control points.
To Do this Change the number of points In the guide bar, enter the number of Points. Reposition a point - Drag a point.
- Click a point, and then enter the x, y, and z coordinates.
Modify multiple points - Click a blue line, and then drag one of the selected points.
- Box select the points, and then drag one of the selected points.
Undo changes for selected points Click the points you want to revert, and then in the guide bar, select Un-edit selected. - Right-click and mouse through the check mark to exit, or double-right-click.