Create a Roll Fold
-
From the Airbag ribbon, click the
Roll tool.
Figure 1. 
-
Use the microdialog to define a folding line.
Figure 2. 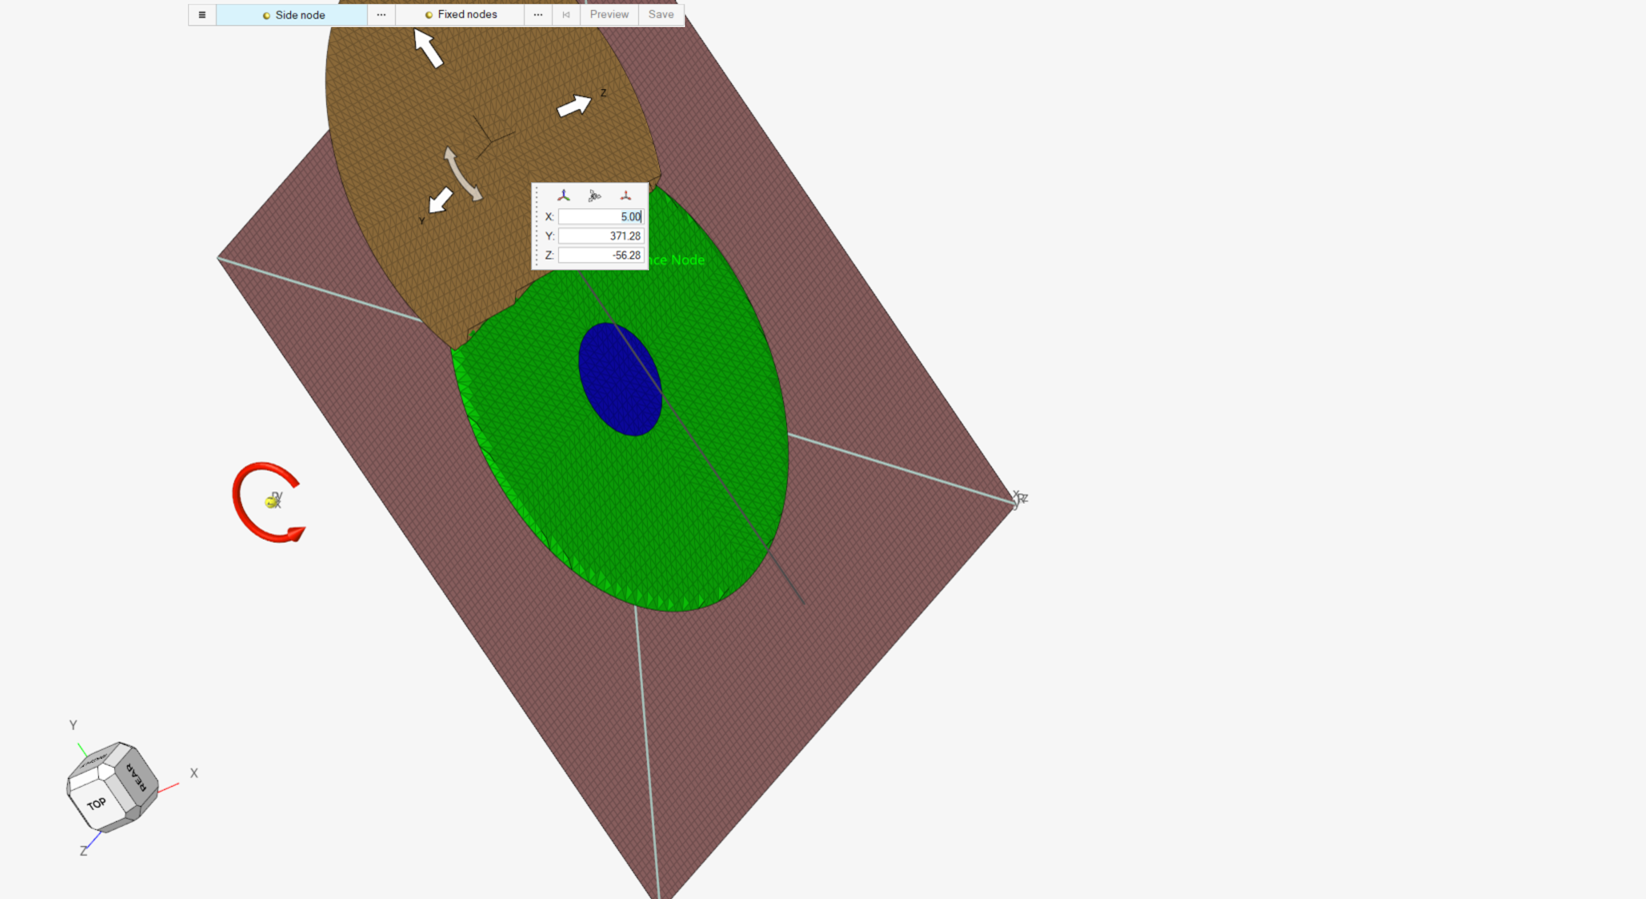
-
On the guide bar, click
 to define
parameters.
to define
parameters.
- Number of rotations: The computation stops once this number is reached. Must be an integer.
- Angle (rotation direction)
- Tool Type: Select the tool that the airbag will be rolled around. This
can be either a flat strip (width) or a cylinder (diameter).
- Width/Diameter: Width or diameter of the strip or the cylinder, respectively.
- Tool offset: The distance between the tool and the airbag plane.
- On the guide bar, click Side node. The selected node defines the side that the airbag is folded on.
- On the guide bar, click Fixed nodes to select nodes that will be unaffected by the fold.
-
Set advanced selections as necessary by clicking
 on the guide bar.
- On the guide bar, click Preview to preview the fold.
-
On the guide bar, click Save to
save the fold definition. This includes the position of the folding line, the
way it is folded, the Z offset, and the stop angle, for example.
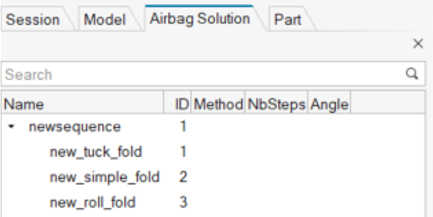
The simple fold is displayed in the Airbag Solution Browser.
Figure 3.